First up, Recipe A (These recipes are halved. To make a full dozen, double it).
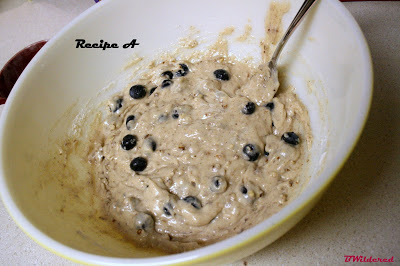
Batter:
1 cup flour
1/2 cup sugar
1/2 tsp baking soda
1/2 tsp cinnamon
1/8 tsp kosher salt
1/4 cup chopped pecans
1/4 cup buttermilk
1/4 cup oil
1/2 egg (2 tbsp-I beat the egg then measured it out)
1/4 tsp vanilla extract
1/2 cup fresh blueberries
Topping:
1/4 cup dark brown sugar packed
1 1/2 tbsp melted butter
2 tbsp finely chopped pecans
Directions:
- Preheat oven to 375.
- Combine flour, granulated sugar, baking soda, cinnamon, salt, and pecans in a large bowl.
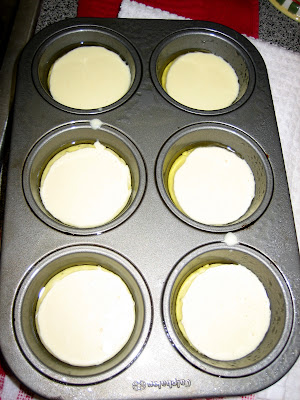
- Whisk buttermilk, oil, egg, and vanilla in a small bowl. Add wet ingredients to dry ingredients; stir just until combined. Gently fold in blueberries. Allow batter for 15 minutes before dividing evenly among paper-lined muffin cups.
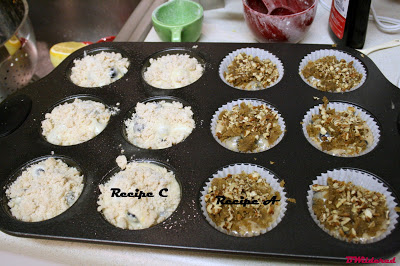
- Combine melted butter and brown sugar in a small bowl. Spoon 2 tsp over each muffin, then sprinkle with 1 tsp of finely chopped pecans.
- Bake muffins at 375 for approximately 20 minutes or until a toothpick in the center comes out clean. Cool on a rack for at least 15 minutes before serving.
Now up, Recipe C.
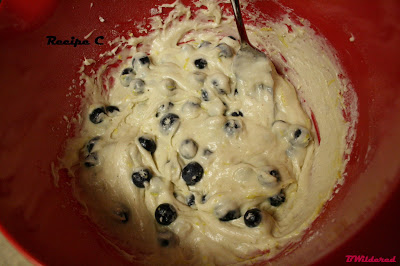
Batter:
1 cup flour
1/4 cup & 1/2 tsp baking powder
1/4 tsp salt
1/8 tsp ground nutmeg
2 tbsp unsalted butter, melted
1/2 cup & 2 tbsp milk
1/2 egg (about 2 tbsp-I beat the egg and then measured it out)
1 cup fresh blueberries
1/2 tbsp lemon zest
Topping:
1/4 cup sugar
2 tbsp & 2 tsp flour
1/4 tsp ground cinnamon
1/8 tsp ground nutmeg
2 tbsp butter, softened
Directions:
- Preheat oven to 375.
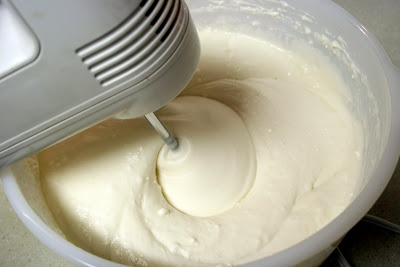
- Make the batter by combining the flour, sugar, baking powder, salt, nutmeg, butter, milk and egg. Blend with an electric mixer. Gently fold in the blueberries and lemon zest. Set aside.
- For the topping combine the first four ingredients. Cut in butter until the mixture resembles coarse cornmeal.
- Grease muffin tins. Spoon batter into tins (fill 2/3 full), then top with streusel mixture. Bake on middle rack approximately 20-25 minutes.
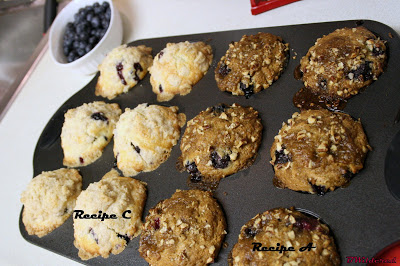
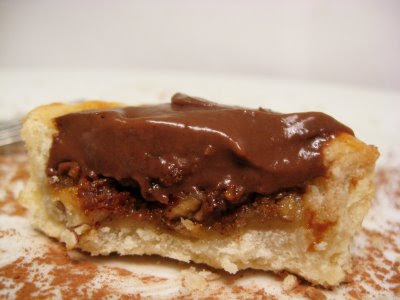
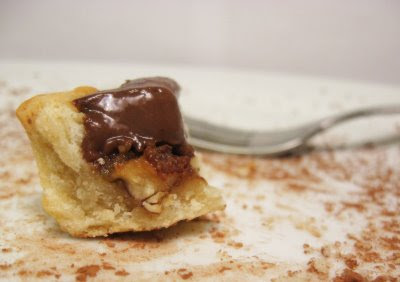
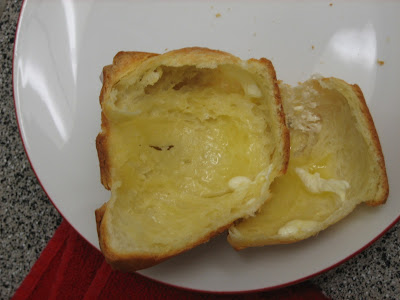
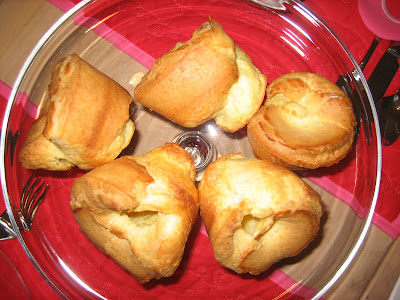
So I taste-tested, I took both to my pals Jen and Kelly and they taste-tested and I had hubby taste them. BY FAR the winner was. . .
RECIPE A!!

SERIOUSLY GOOD. I'm not even kidding people. You need to make this. Both of the recipes were actually good. Hubby preferred Recipe C, but the rest of us were all about A. I think it was the brown sugar that put Recipe A over the top. I will be making these again and again and again.


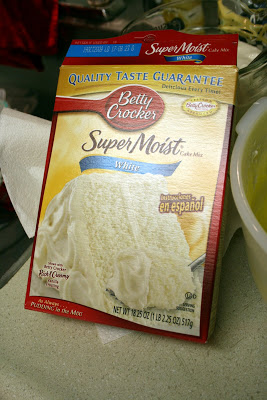
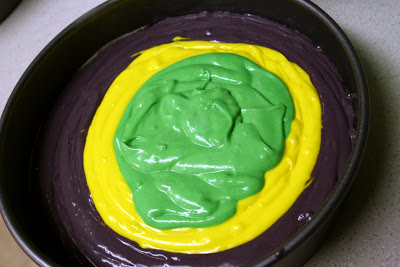
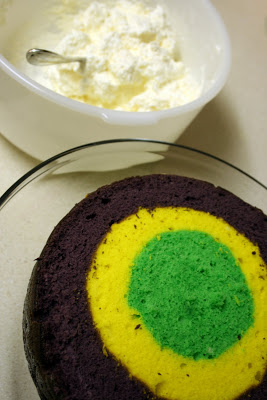
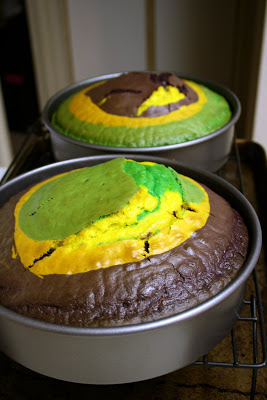 Then bake that sucker according to the directions on the box. Mine required an extra 10 minutes or so. Just keep poking it with a toothpick until it comes out clean. The tops of my cakes were really bloated so I shaved the entire bump off the bottom layer and part of it on the top. Now it's time for FROSTING!
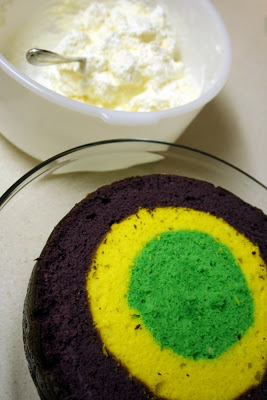 All you're going to do here is take 16 oz. of cool whip and mix in the two packages of fat-free, sugar-free pudding (I used the white chocolate flavor). I would do it one at a time. It makes it a little easier to mix. Also, I would mix this while your cake is baking. That way the whip cream has time to thaw out. That will come in handy later.
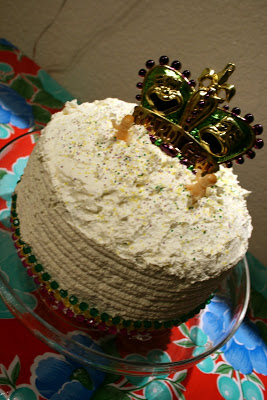
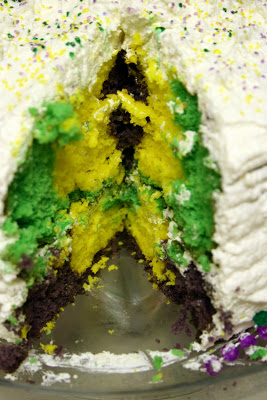
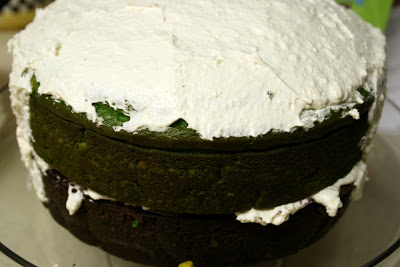 Start frosting that sucker! This frosting is very sticky. Meaning it sticks to the cake! So that's why it is important that it has sit for awhile. I found that it was easier to spread the frosting warmer it was. It's not going to be perfectly smooth like buttercream so if that bothers you, sorry.
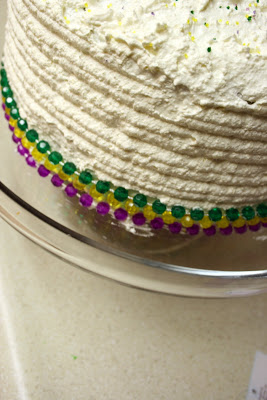

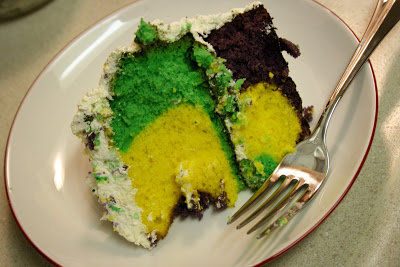
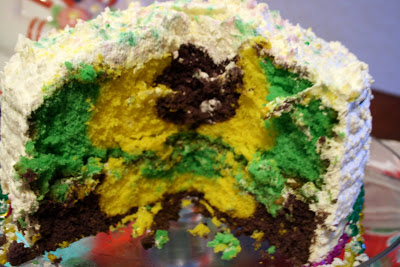 How cute is this thing? I really loved it. And seriously. GOOD. So moist. I really think this is some of the most moist cake I have ever had. I can't wait to try the full


